Crimp Fold
A Crimp fold is considered a more intermediate technique when it comes to common folds. You may find them in some simple models, but they are more often found in intermediate and above models.
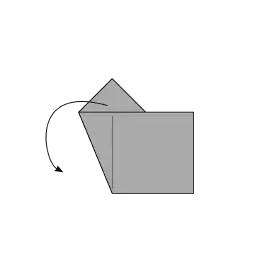
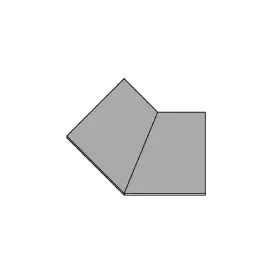
Crimp folds use parallel Mountain and Valley folds to create a zig-zag effect that can allow you to adjust the direction of the paper. It’s often used in models to add shape to legs, arms, or tails.
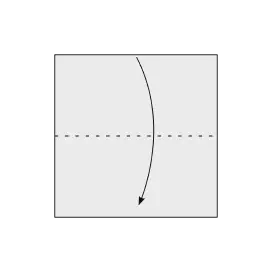
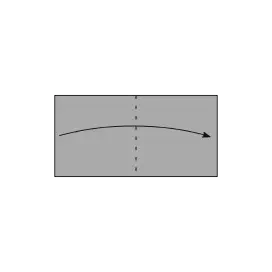
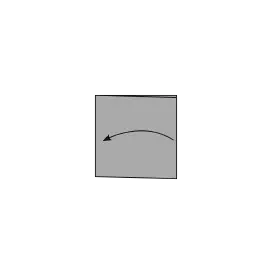
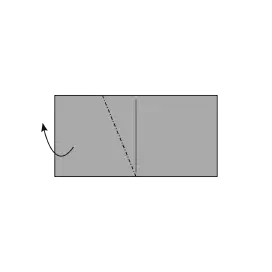
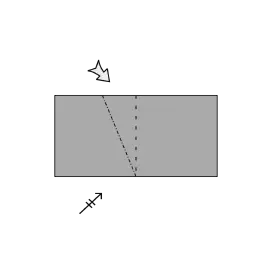
In diagrams, Crimp folds are usually shown with two parallel Mountain and Valley folds, and often a zig-zag arrow that shows the compression and direction.
Pre-creases for Crimp folds are very important to make sure you get the results you want, so taking your time to get these right before you complete the rest of the fold will make the process easier.
Diagrams
