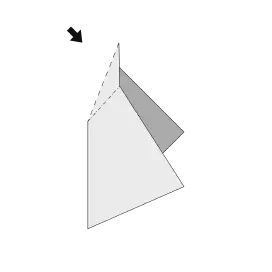
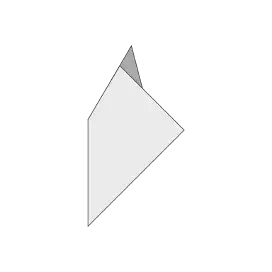
Inside Reverse Fold
An Inside Reverse fold is a common fold used in a wide variety of models. They’re often used to shape a point, like the beak or a tail of an animal.
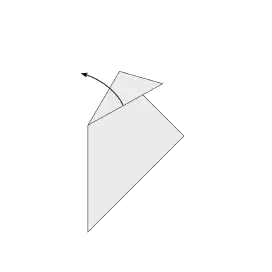
To make an Inside Reverse fold, you need to change the direction of an edge by tucking it into the model between some of the existing layers.
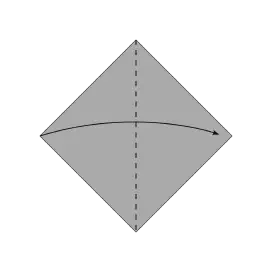
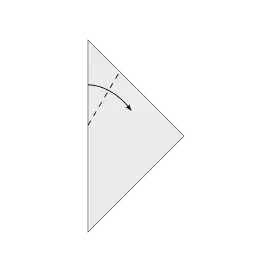
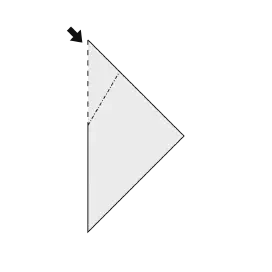
In diagrams, they are usually shown with an arrow that indicates the direction of the fold, and lines to display the Mountain and Valley creases used to guide you.
The key to a clean Inside Reverse fold is to have accurate pre-creases and to take your time to keep the layers smooth.
Diagrams
